Lightning-fast ML pipelines with Determined and Kubeflow
September 10, 2020

As machine learning teams grow, we commonly see the need for “MLOps” emerge: teams need sophisticated automation of their common ML workflows. By the time your team has developed 10+ models, you’ll quickly run out of time to babysit them; manually monitoring, retraining, and redeploying models will use up all of your energy, leaving you no time to iterate on new models or improve existing models.
In this blog post, we’ll show you how to build an automated model training and deployment pipeline by combining three leading open source tools:
- Kubeflow Pipelines for ML pipelines
- Determined for production-scale model training
- Seldon Core for model deployment and serving
Kubeflow Pipelines to the Rescue

Kubeflow Pipelines are designed to make it easier to build production machine learning pipelines. Kubeflow is Kubernetes-native, meaning you can take advantage of the scaling that comes with using Kubernetes. Kubeflow Pipelines are defined using the Kubeflow Pipeline DSL — making it easy to declare pipelines using the same Python code you’re using to build your ML models.
You’ll still need a tool to manage the actual training process, as well as to keep track of the artifacts of training. Kubeflow has tools for training (like Katib, TFJob, PyTorchJob, MPIJob), but all of them have significant shortcomings when you’re doing ML at scale. None of them provide integrated experiment or artifact tracking, meaning you’ll need to build a solution to keep track of the metrics and artifacts of training for every model you write. Further they’ll require you to write extensive Kubernetes manifests — a dive into systems engineering that most data scientists would rather avoid.
Determined for Production-Grade Training
Determined provides a scalable and production-ready model training environment. You can use Determined to configure distributed training by simply changing one line of a configuration file, and every time you train a model all of the artifacts, metrics, and hyperparameters associated with that training job are automatically tracked and programmatically accessible.
Further, Determined includes a Model Registry, allowing you to version production-ready models and access those models via a clean API endpoint. The model registry is built to meet the need of production workflows, where having clean APIs to access the newest versions of your models will make the deployment process seamless.
Using Determined with Kubeflow Pipelines
Let’s check out what a production-grade pipeline looks like using Determined and Kubeflow Pipelines:

In this example we will:
- Clone a GitHub repository that defines an ML model and Determined experiment
- Train the model using Determined
- Compare the performance of the newly trained model with the previous version of the model in the Determined model registry
- If the newly trained model is an improvement, update the model registry with the new version
- Deploy the best model to a REST endpoint using Seldon Core
This workflow can be easily expanded and customized — for instance, you can add whatever checks or tests you need at the end of training to ensure a model is ready for production. Some examples are fairness testing, testing on true holdout data, or setting up an A/B deployment for real world testing.
Clone a Model from GitHub
def clone_mlrepo(repo_url: str, branch: str, volume: dsl.PipelineVolume):
    image = "alpine/git:latest"

    commands = [
        f"git clone --single-branch --branch {branch} {repo_url} /src/mlrepo/",
        f"cd /src/mlrepo/",
        f"ls",
    ]

    op = dsl.ContainerOp(
        name="git clone",
        image=image,
        command=["sh"],
        arguments=["-c", " && ".join(commands)],
        pvolumes={"/src/": volume},
    )

    return op
The first operation clones a Git repository. This repository should define a Determined experiment (both a model and an experiment configuration). You can use any model and experiment configuration you like — for example, you could do distributed training of an object detection model with this example.
Train a Model with Determined
def run_det_and_wait(detmaster: str, config: str, context: str) -> int:
    # Submit Determined experiment via CLI
    import logging
    import os
    import re
    import subprocess

    logging.basicConfig(level=logging.INFO)
    os.environ["DET_MASTER"] = detmaster

    repo_dir = "/src/mlrepo/"

    config = os.path.join(repo_dir, config)
    context = os.path.join(repo_dir, context)
    cmd = ["det", "e", "create", config, context]
    submit = subprocess.run(cmd, capture_output=True)
    output = str(submit.stdout)
    experiment_id = int(re.search("Created experiment (\d+)", output)[1])
    logging.info(f"Created experiment {experiment_id}")

    # Wait for experiment to complete via CLI
    wait = subprocess.run(["det", "e", "wait", str(experiment_id)])
    logging.info(f"Experiment {experiment_id} completed!")
    return experiment_id


run_det_and_wait_op = func_to_container_op(
    run_det_and_wait, base_image="davidhershey/detcli:1.9"
)
Next we’ll submit that experiment to Determined using the Determined CLI. Here we use the Kubeflow DSL to provide a Python function that submits the experiment, waits for that experiment to finish, and returns the unique ID of the experiment for use in our next step. The Kubeflow DSL then converts that function into a pipeline component.
Compare the Model to Previous Versions
def decide(detmaster: str, experiment_id: int, model_name: str) -> bool:
    """
    Compare new model to previous best; if better, save
    that version and deploy
    """

    from determined.experimental import Determined
    import os

    os.environ['DET_MASTER'] = detmaster

    def get_validation_metric(checkpoint):
        config = checkpoint.experiment_config
        searcher = config['searcher']
        smaller_is_better = bool(searcher['smaller_is_better'])
        metric_name = searcher['metric']

        metrics = checkpoint.validation['metrics']
        metric = metrics['validationMetrics'][metric_name]
        return (metric, smaller_is_better)

    def is_better(c1, c2):
        m1, smaller_is_better = get_validation_metric(c1)
        m2, _ = get_validation_metric(c2)
        if smaller_is_better and m1 < m2:
            return True
        return False

    d = Determined()
    checkpoint = d.get_experiment(experiment_id).top_checkpoint()

    try:
        model = d.get_model(model_name)
    except:  # Model not yet in registry
        print(f'Registering new Model: {model_name}')
        model = d.create_model(model_name)

    latest_version = model.get_version()
    if latest_version is None:
        better = True
    else:
        better = is_better(latest_version, checkpoint)

    if better:
        print(f'Registering new version: {model_name}')
        model.register_version(checkpoint.uuid)
    return better

decide_op = func_to_container_op(
    decide, base_image="davidhershey/detcli:1.9"
)
Next we’ll inspect the results of training and compare it to the current version of the model in the Determined model registry. If the newly trained model is performing better than the version in the registry, we will register a new version of the model, and the model will be deployed in the next step. Otherwise, we’ll print an alert that the model is not performing as well.
Deploy Your Model with Seldon Core
The final step of the pipeline will be deploying your model with Seldon Core. This requires a bit of work — you’ll need to create a wrapper container for your model with a Seldon Core language wrapper. Luckily the Determined model registry makes this a lot easier, as you can instantiate a model with just the model’s name. For an example of how to do this, check out this folder which wraps an MNIST model trained with Determined. For the actual pipeline, we’ll create a container operation with the Kubeflow Pipeline DSL:
def create_seldon_op(
    detmaster: str,
    deployment_name: str,
    deployment_namespace: str,
    model_name: str,
    image: str,
):
    command = [
        "python",
        "create_seldon_deployment.py",
        f'{deployment_name}',
        f'{deployment_namespace}',
        f'{detmaster}',
        f'{model_name}',
        '--image',
        f'{image}',
    ]
    return dsl.ContainerOp(
        name='Create Seldon Deployment',
        image='davidhershey/seldon-create:1.2',
        command=command,
        file_outputs={
            'endpoint': '/tmp/endpoint.txt',
        }
    )
This operation invokes a script we wrote to create a Seldon endpoint from a specific Seldon image and Determined model version. It then writes out the URL of the endpoint that can be used to make predictions.
Putting it All Together
Finally, we’ll compile our pipeline so that we can upload it to Kubeflow:
@dsl.pipeline(
    name="Determined Train and Deploy",
    description="Train a model with Determined, deploy the result to Seldon"
)
def det_train_pipeline(
    detmaster,
    mlrepo="https://github.com/determined-ai/determined.git",
    branch="0.13.0",
    config="examples/official/trial/mnist_pytorch/const.yaml",
    context="examples/official/trial/mnist_pytorch/",
    model_name="mnist-prod",
    deployment_name="mnist-prod-kf",
    deployment_namespace="david",
    image="davidhershey/seldon-mnist:1.6"
):
    volume_op = dsl.VolumeOp(
        name="create pipeline volume",
        resource_name="mlrepo-pvc",
        modes=["ReadWriteOnce"],
        size="3Gi",
    )
    clone = clone_mlrepo(mlrepo, branch, volume_op.volume)
    train = (
        run_det_and_wait_op(detmaster, config, context)
        .add_pvolumes({"/src/": clone.pvolume})
        .after(clone)
    )
    decide = decide_op(detmaster, train.output, model_name)
    with dsl.Condition(decide.output == True, name="Deploy"):
        deploy = create_seldon_op(
            detmaster,
            deployment_name,
            deployment_namespace,
            model_name,
            image,
        )
    with dsl.Condition(decide.output == False, name="No-Deploy"):
        print_op('Model Not Deployed')


if __name__ == "__main__":
    kfp.compiler.Compiler().compile(det_train_pipeline, 'train_and_deploy.yaml')
You can invoke this script with Python, which will create a pipeline file called train_and_deploy.yaml:
python create_pipeline.py
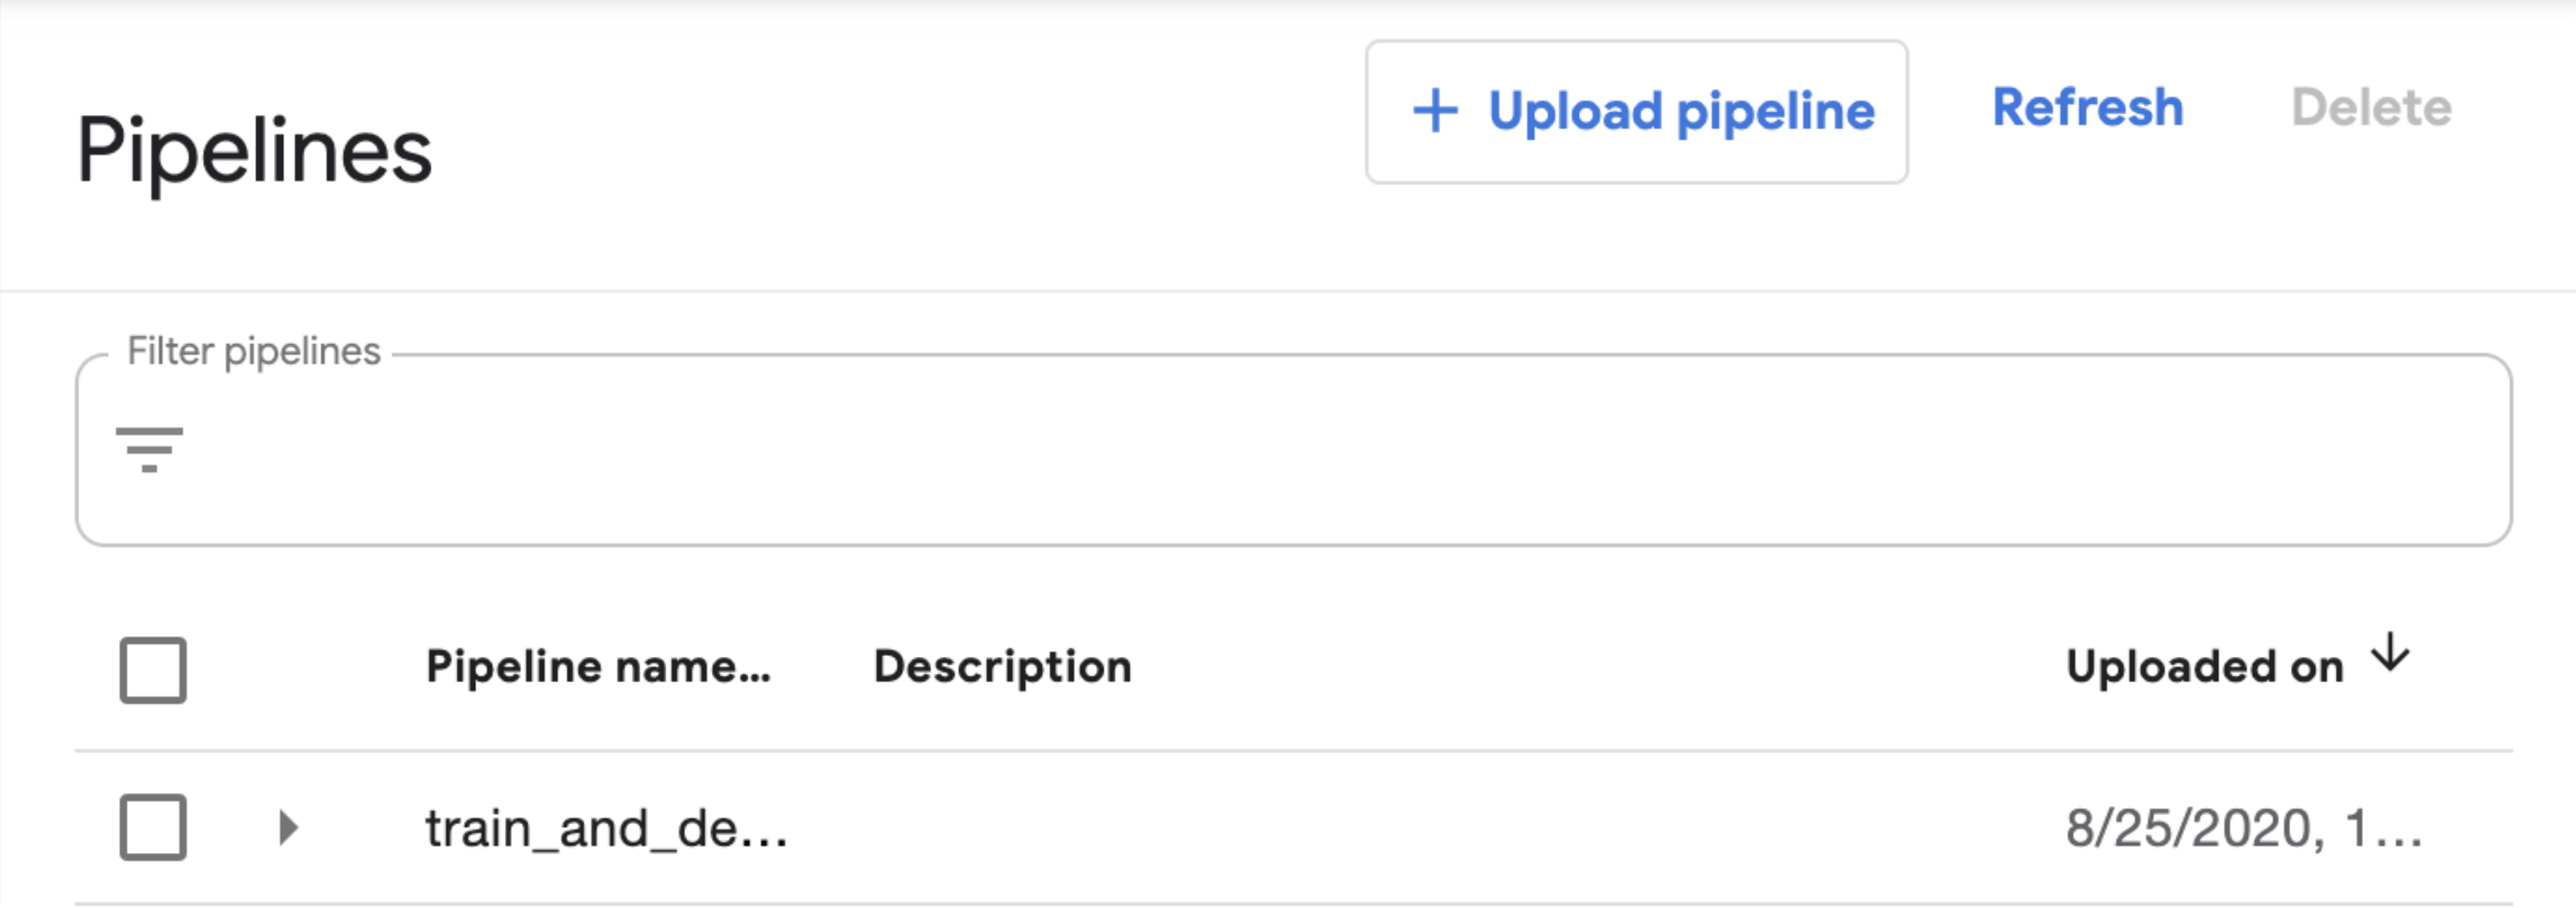
Upload that file to Kubeflow by clicking “Upload pipeline”:

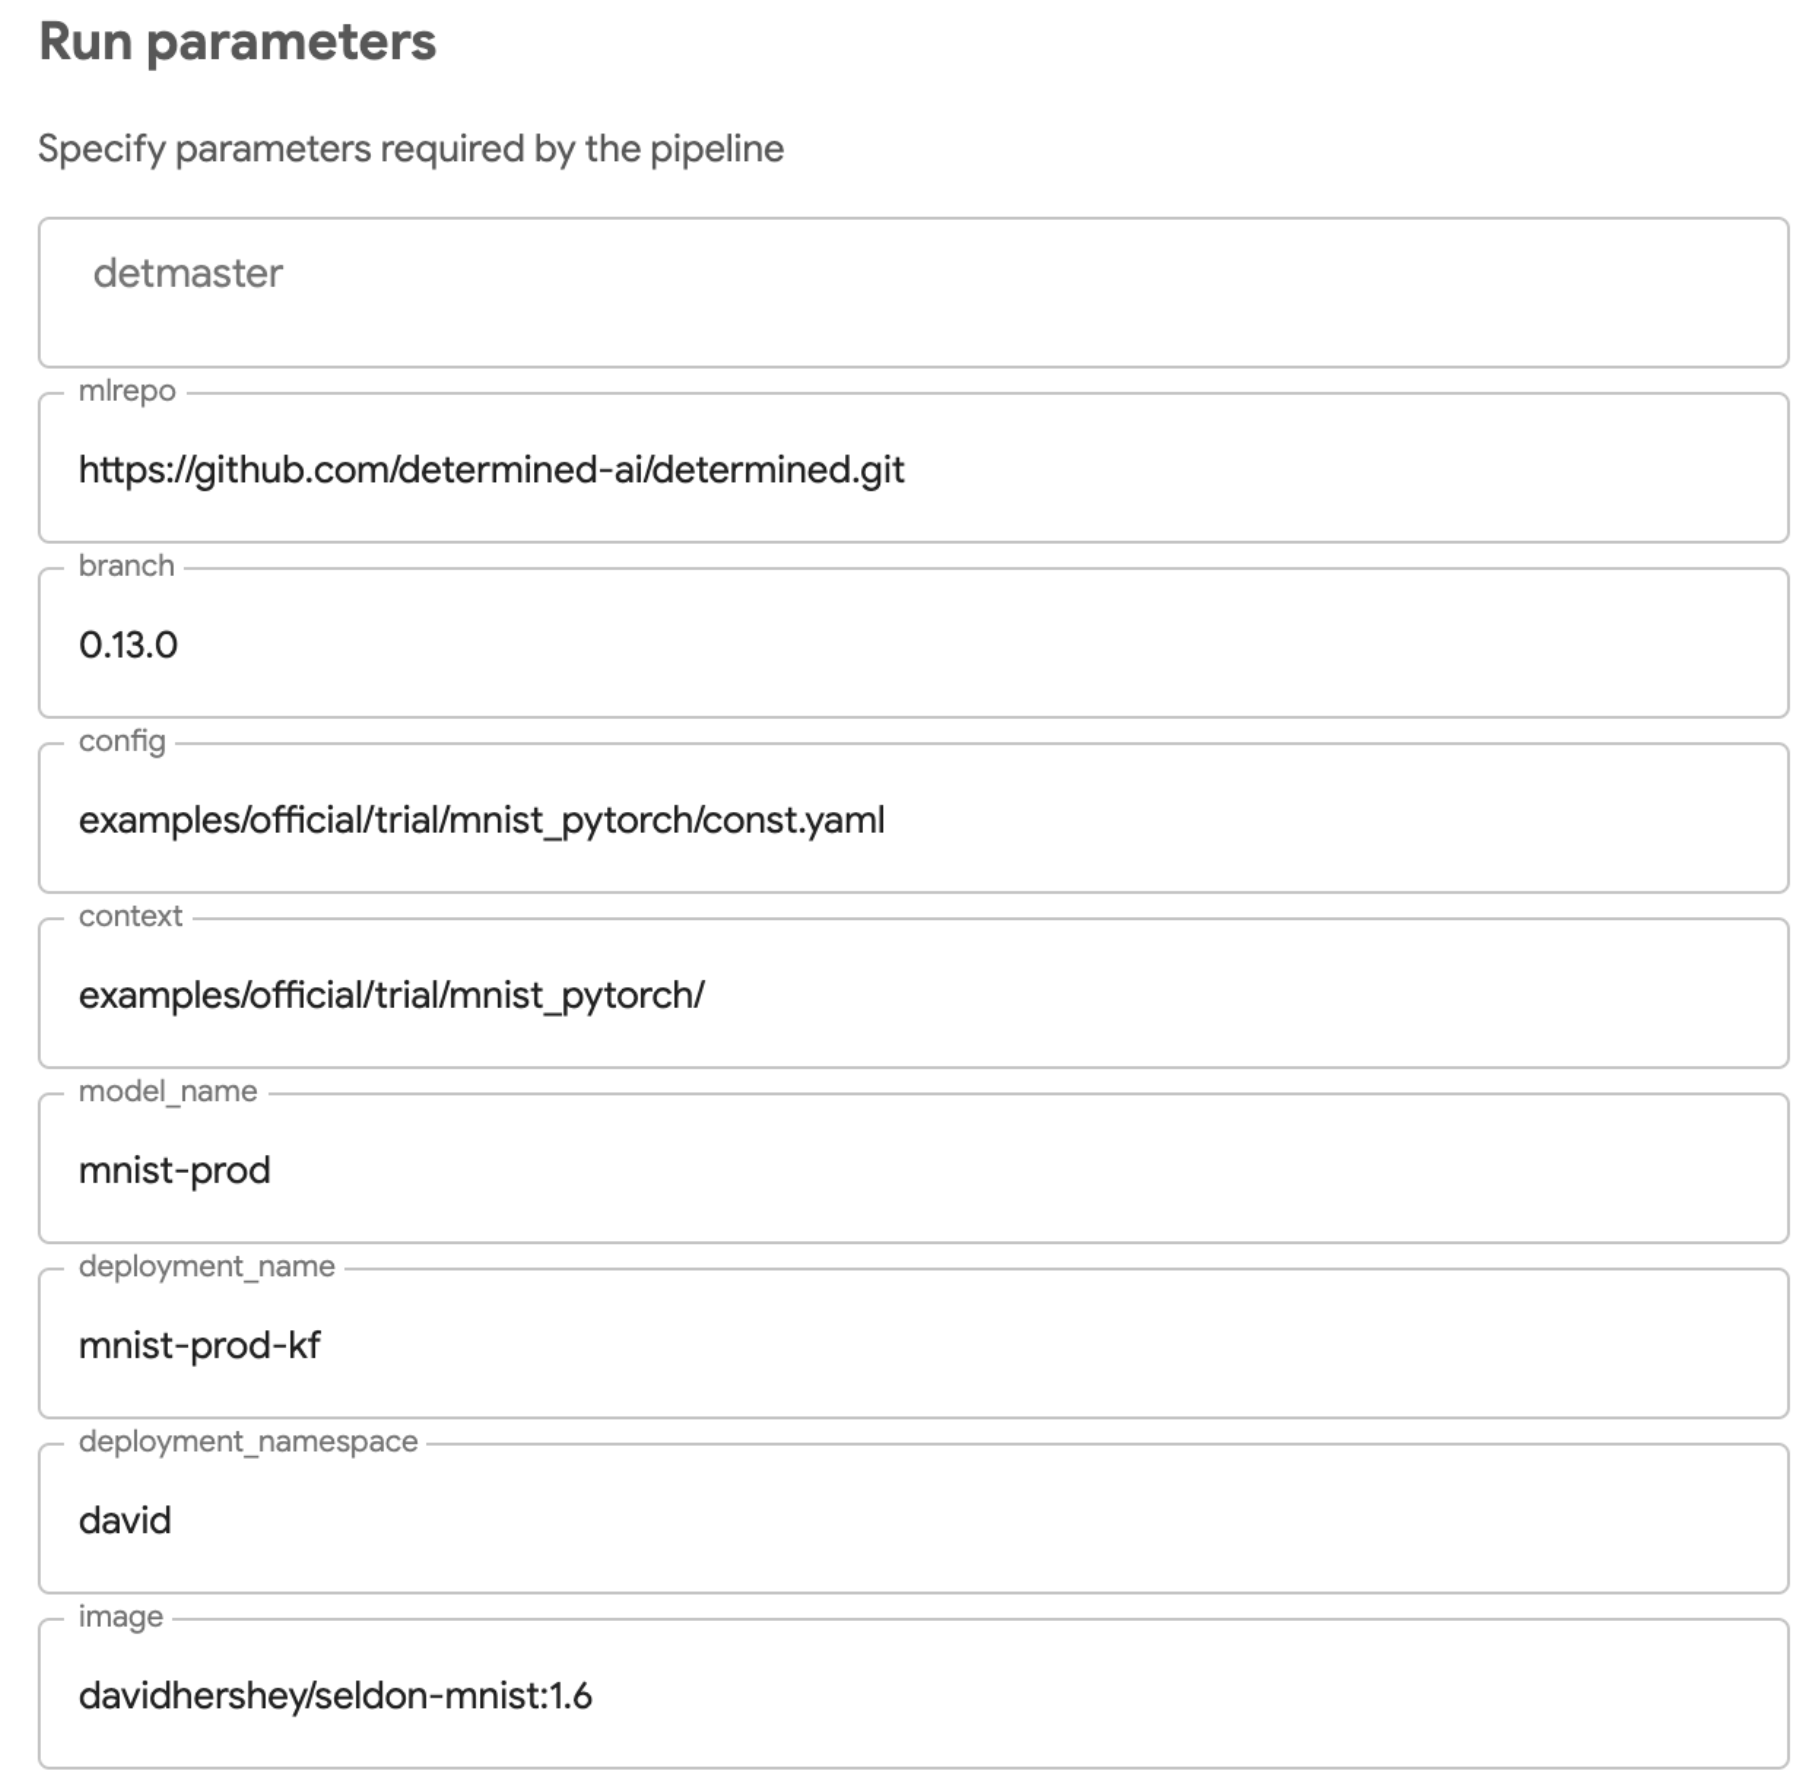
And then create a run with your own inputs:

And you have yourself a reusable pipeline that trains a model, tracks and versions the results, and deploys that model to a named endpoint!
If you want to learn more about how Determined can help productionize your training pipelines, check out Determined here and join our community Slack if you have any questions! If you’re curious about more examples of how Determined integrates seamlessly with popular ML ecosystem tools like Pachyderm, DVC, Spark, and Argo, check out works-with-determined on GitHub.
